Duck Wax How To

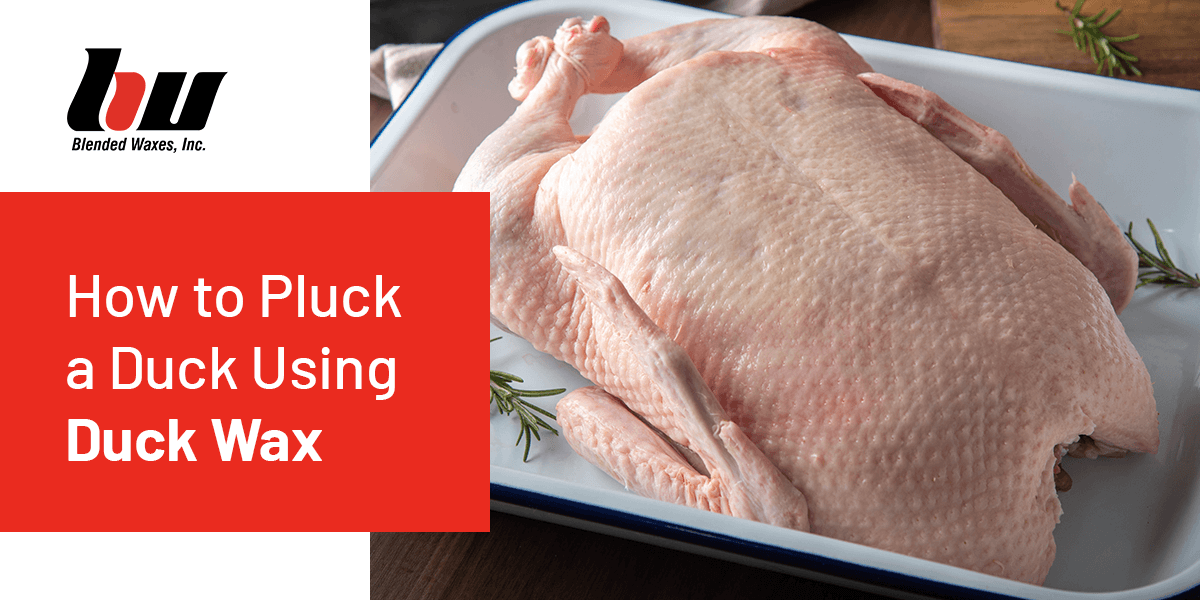
How to Pluck a Duck Using Duck Wax
Plucking is an important step in preparing a duck – or any bird – for cooking. After all, a mouthful of feathers isn’t exactly tasty. Or edible.
But how can you get rid of those pesky feathers? A chicken-plucking machine might work for the larger feathers, but since ducks have a downy layer that chickens lack, it won’t be able to pluck your bird completely.
Plucking can be time-consuming, but any hunter, farmer or homesteader needs to know how to clean their birds. There are several methods you can use, but in this guide, we’ll focus on how you can use duck wax to clean the down and pinfeathers from a duck after removing the large flight feathers by hand.
Why Use Duck Wax?
While you can remove down and pinfeathers by hand or machine, it’s much easier to peel them off using duck wax. The wax adheres to these internal layers of feathers and pulls them gently enough to avoid causing damage to the bird’s skin.
You can use normal food-grade paraffin wax, but we recommend using duck wax for the best results. Unlike regular paraffin wax, duck wax contains microcrystalline, which makes it strong and adhesive enough to pull every last feather from a duck. Regular paraffin wax will remove most feathers, but it’s likely to leave some small ones behind.
Plus, each blend of paraffin wax has a different melting point. Our duck wax has one fixed melting point, so it eliminates the guesswork of finding the correct water temperature.
Simply put, if you want a perfect bird, duck wax is the way to go.
The Plucking Process
Here’s what you’ll need to easily pluck a duck:
- Your duck or other bird
- A large pot filled with water
- A large bucket filled with cold water
- Duck wax
Gather all of your supplies in an area with a stove and adequate counter or floor space. Now, it’s time to get started.
1. Remove Large Feathers
To begin the process, remove as many large feathers as possible. Don’t worry about the down or pinfeathers yet – the wax will deal with that.
Holding the bird by its feet, take a small handful of feathers and pull them away from you towards the neck. Be gentle but firm when pulling feathers. Because waterfowl have tough skin, you don’t need to worry about accidentally tearing it in the process. However, it’s best to exercise a degree of caution, especially if you’re new to this process.
PRO TIP: The wings and legs will be the most difficult parts to pluck if you choose to keep them. Gripping the bird by its breast and plucking downwards can help if the feathers are especially stubborn.
2. Heat the Water
Next, heat your pot of water on the stove to about 160 degrees Fahrenheit. This is the optimal temperature for melting duck wax.
PRO TIP: Keep an eye on the pot to make sure it isn’t boiling. Attempting to pluck a duck using boiling water can result in a half-cooked bird and an uneven layer of wax. If it begins to boil, reduce the heat and wait for it to cool before proceeding.
3. Add the Wax
Once your water has reached the right temperature, it’s time to add your wax. The amount of wax you’ll need will change depending on the number of ducks you’re preparing and the size of each bird, but in general, a 75% water to 25% wax ratio is a good rule to follow.
Break up your block of duck wax into small pieces before placing it into the pot and allowing it to melt. It should form a thin layer on the surface of the water.
4. Dip the Duck
Grasp the duck by its neck and gently lower it into the hot water. Wait a few seconds, then pull it back out.
PRO TIP: If you find that the wax coating on the bird is too thin, your water might be too hot. Similarly, a wax coating that’s too thick is a sign that the water isn’t hot enough. Simply adjust the heat and try again if needed.
Once your duck is coated in wax, dunk it into the cold water bucket. This step will cool the wax and speed up the hardening process. To ensure even hardening, repeat this step a few times.
5. Allow Wax to Harden
Give the wax a minute or two to cool and harden into a thin shell. It should be solid to the touch. If you have other birds to prepare, you can dip them while you wait.
PRO TIP: If your wax layer looks thick, you may need to wait a few more minutes for the wax to harden completely. To test if the wax has set, tap it. It should make an audible sound.
6. Peel the Wax
Once the wax has hardened, you should be able to peel it off in chunks. Any remaining down and pinfeathers should come away with it, leaving behind smooth, clean skin.
Simply remove the head, organs and remaining limbs, and your duck is ready for the oven.
Order Duck Wax From Blended Waxes
At Blended Waxes, we pride ourselves on the precise formulation of our wax blends. Our duck wax is made from a Federal Drug Administration-approved blend of refined paraffin and microcrystalline waxes.
With a mid-range melt point of about 130-150 degrees Fahrenheit, you’ll be able to evenly coat your duck in the wax without risking heat damage to the bird. It’s also safe for food, so you can use it on a bird you intend to eat.
Learn more about our duck wax, order or browse our site for more wax products.

